Learning Sketch... The hard way
Open Sketch
Hopefully you already have Sketch on your computer. If not, no problem, ask Aaron and he'll get you set up.
Go to New > New From Template and then choose iOS UI Design or Material Design, depending on what you want to build.
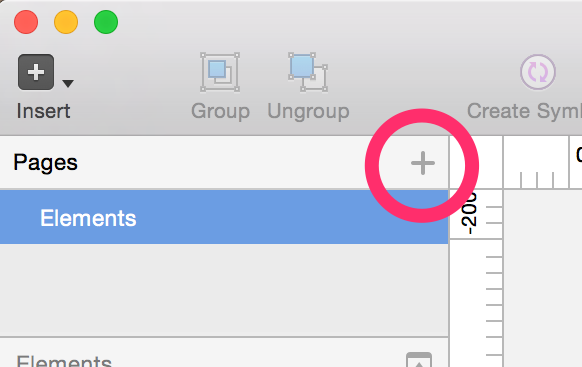
Make a New Page
We start on a page filled with cool UI stuff, but let's make a new page for our own designs.
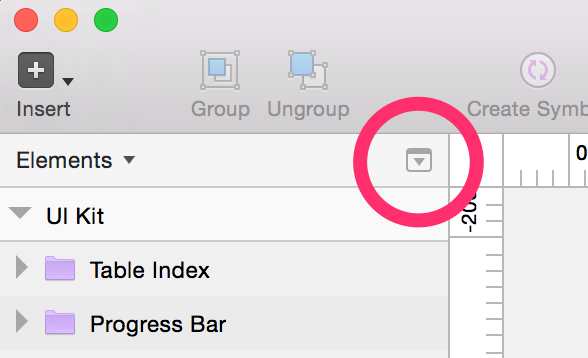
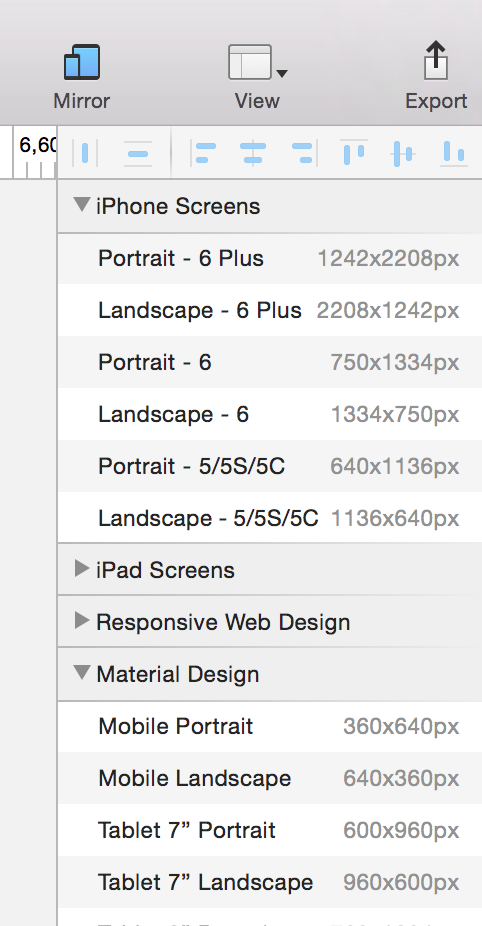
Make some artboards
This is going to sound really intense... but press 'a'. The right hand menu should reveal some options. Pick the approriate size for your device, mainly iPhone 6 for iOS or Mobile Portrait for Android.
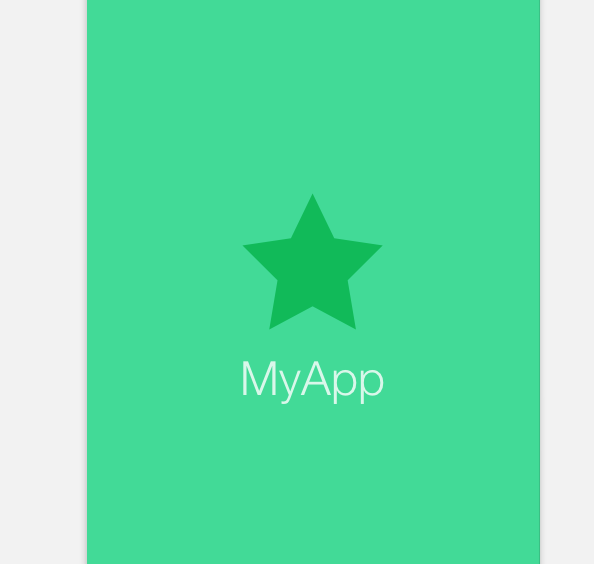
Make a Splash Page
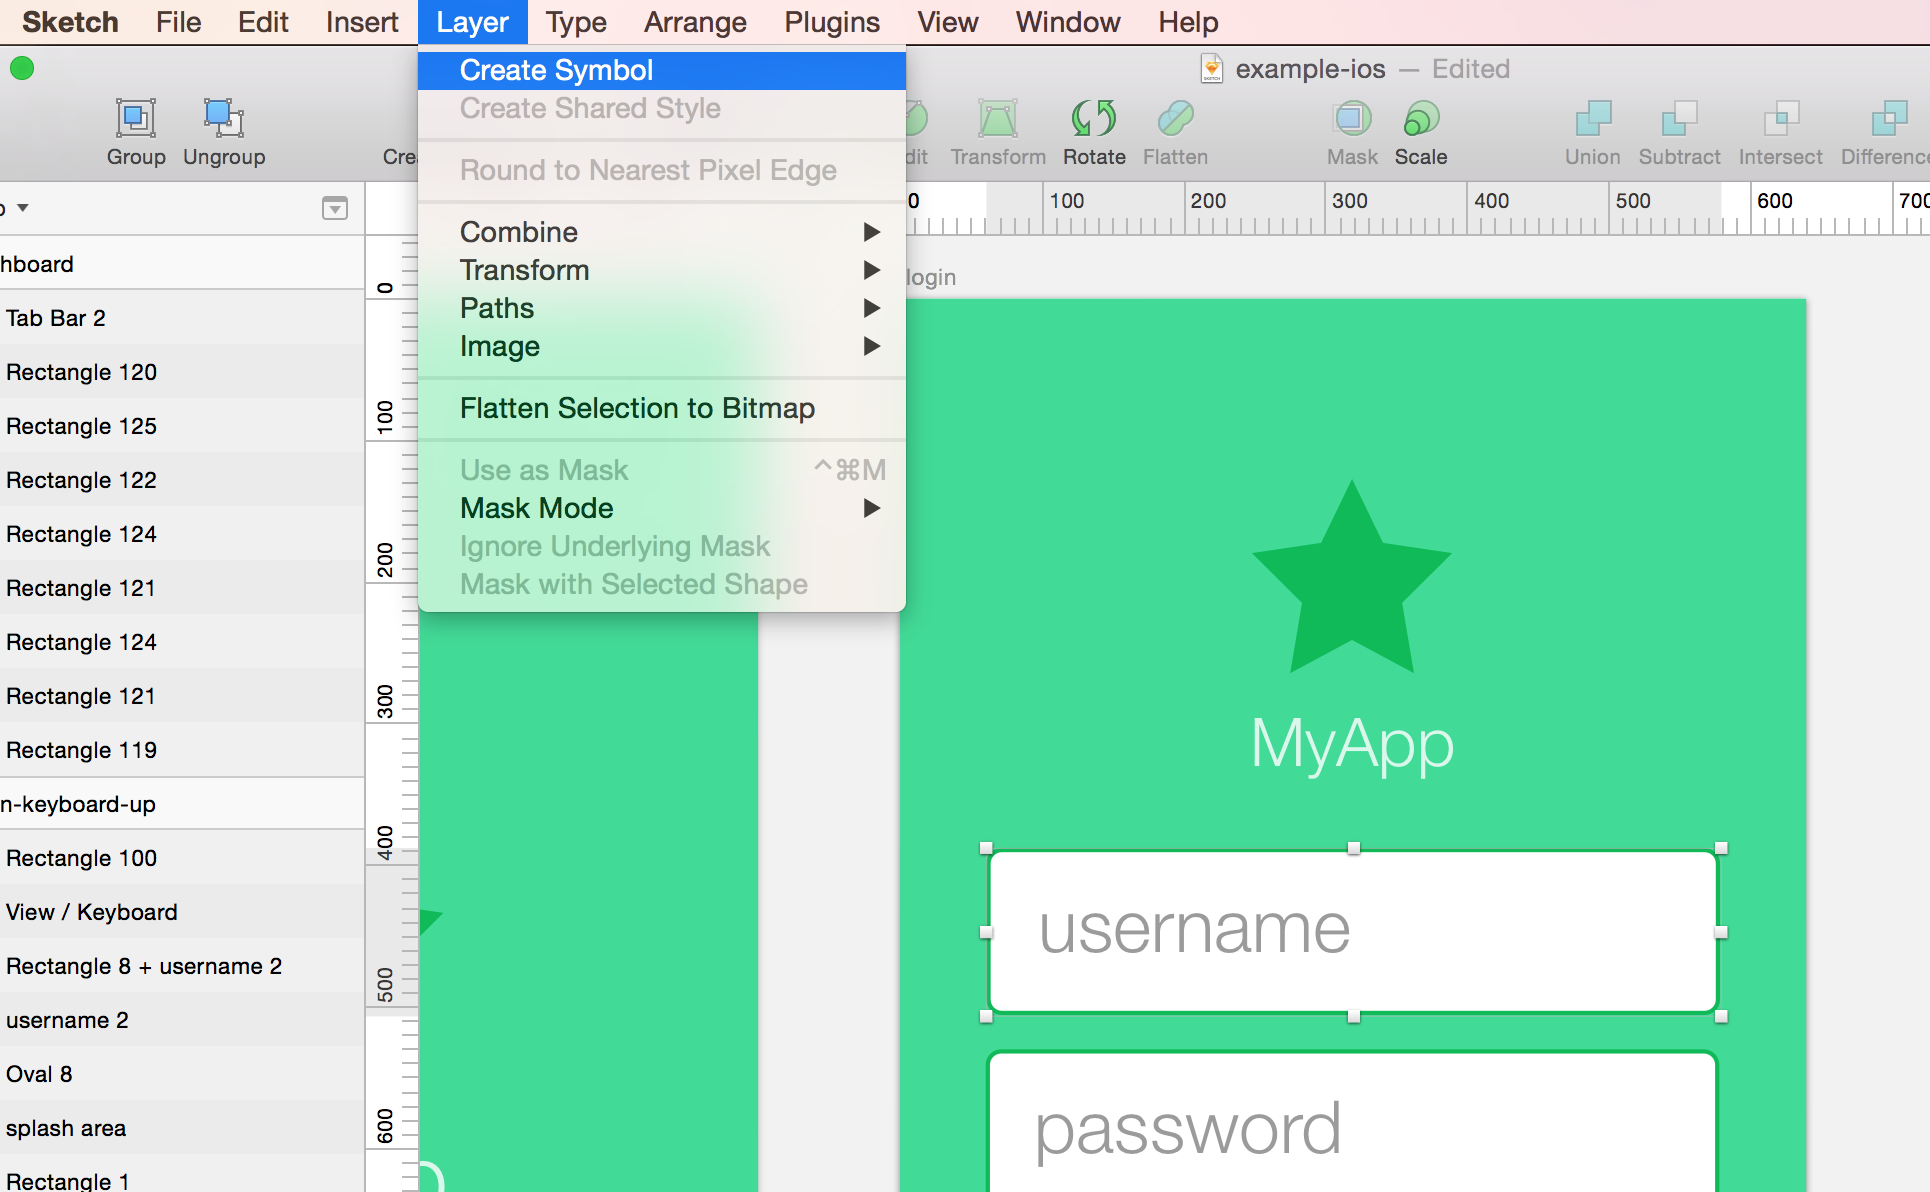
Use a solid background color for a punch, plus an icon and/or some textany necessary system stuff (navigation bar) HINTS: insert rectangle shortcut: ‘r’, ‘f’, and ‘b’ to toggle fill and border ‘fn UP’ and ‘fn DOWN’ to toggle between Pages, copy and paste over OR Insert Symbol.
Make a Login Page
Backgournd
select the background color from the splash page, and make a new Style, ‘primary-color’. For now, let’s just copy and paste it over - copy the background rectangle, select the new artboard, and paste.
Logo
Let’s copy and paste over the logo and title as well. Let’s make it smaller, move it up. Make sure it’s in a group so the text reduces correctly.
Text boxes
Let’s make two text boxes for our username and password. We’ll set these as symbols, so if we change one it will change the other.
- Create rectangle (start from middle, use CMD so you size from center)
- Option drag to create a copy
- Create styles for both
Login Button
You can use CTRL-C to copy a style, and give it a baller shadow.
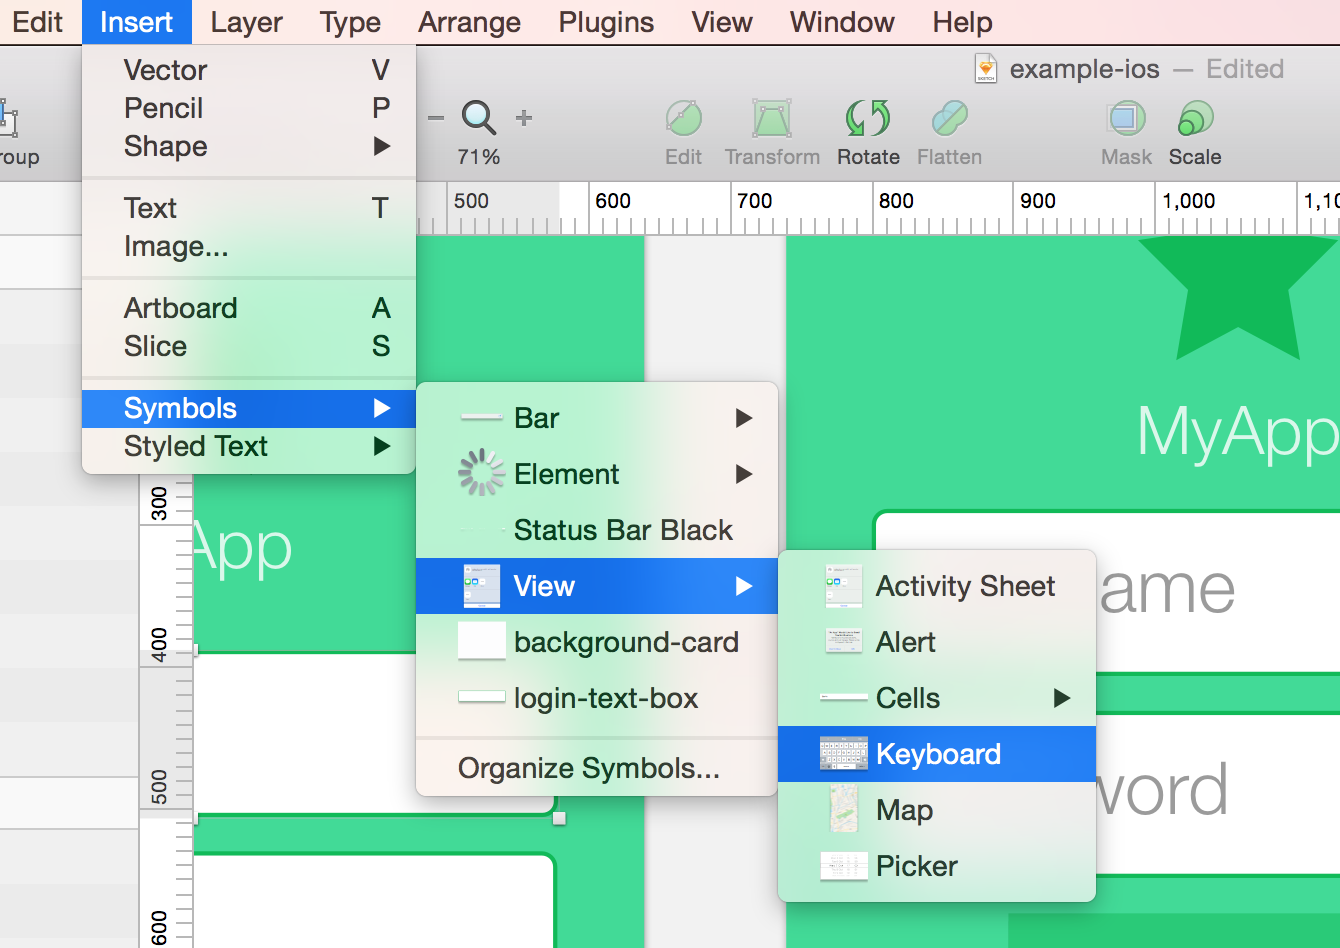
Login Page with Keyboard
Copy and Paste the the last art board over.
Insert > Symbol and put in a keyboard if you have one. Copy and Paste works too. Size appropriately and move around any elements on screen if necessary
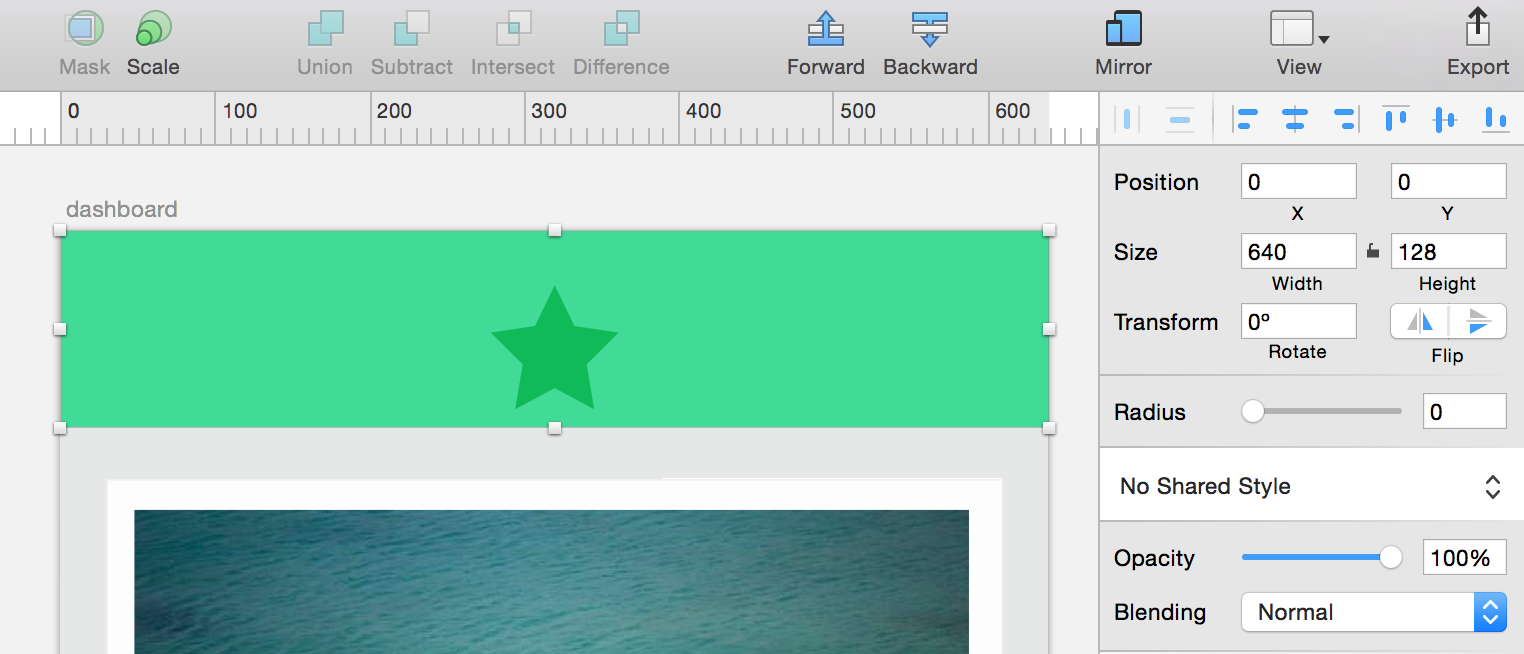
Dashboard
Make this page a little longer.
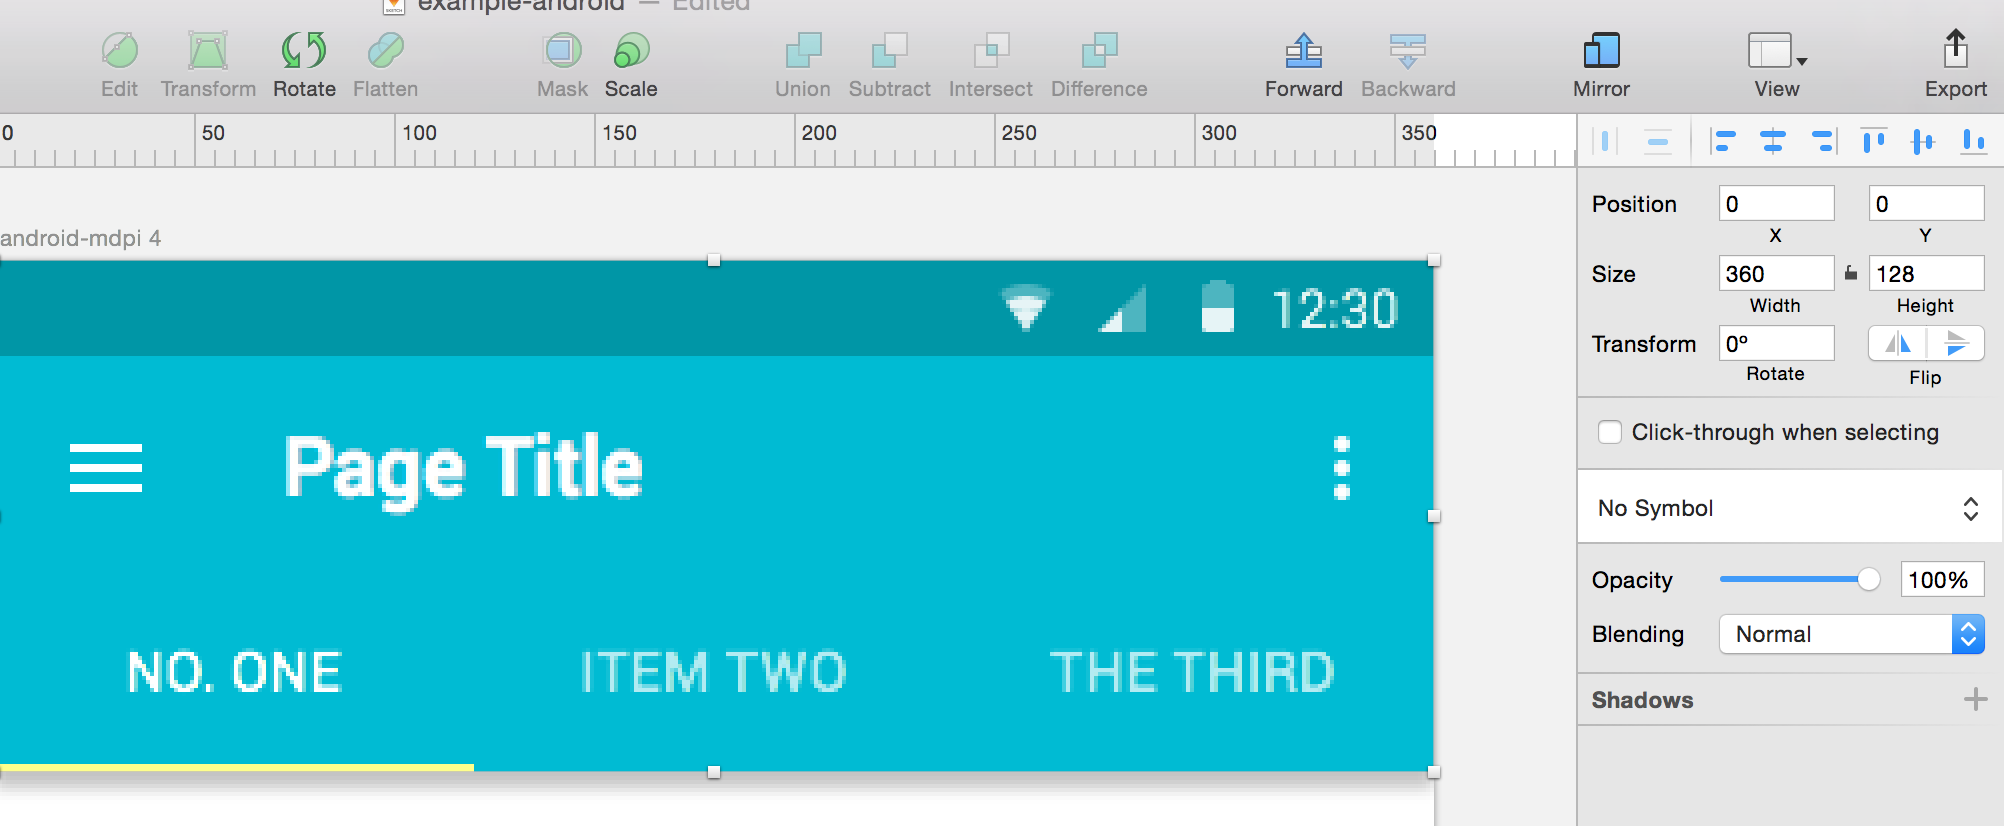
Navbar
- iOS: 128px (retina) -> 40px status bar, 88px navbar
- Android: 80dp retina -> 24dp status bar, 56p app bar (48dp tabs)
Tab Bar
- iOS -> usually light color. consider tinting to match highlight color
- Android -> same color as app bar.
Content Area
- For the background, let’s stick use an off-white or light gray. Consider a slight tint.
- You're not an interface designer if you don't use cards. So let's make some cards! Feel free to go full width, part width, grid, whatever you think best suits your app idea. Don’t worry about Styles or Symbols at this point. We’re still experimenting, so they will just get in our way.
- Put in some filler boxes to spice up your cards. Text if you’re feeling spunky.
Invision Integration
Before we drop our Sketch file into Invision, let's make sure are artboards are properly named. I like numbering, but do what you think fits best! 1. 0 Splash, 2.0 Login 2.1 Login Keyboard etc etc. To change the artboards name, you can double tap on the name in the Layers Menu on the left, or press CMD-R when selecting the artboard.
- Go to Invision Sync folder and create a new project. Wait for the assets folder to appear, and add your sketch file to the Source File folder.
- Go to projects.invisionapp.com and log in as xd.admin and find your project. Pick the correct device and hopefully your screens are loaded in. Create some hotspots, link em up, and share to your phone.
- If there’s time, update a screen or two. Add some more content, change your text boxes. save the sketch file and watch invision pick up the changes magically (if not instantly; give it a minute).
Bonus Material
For funsies, let's try a plugin! Grab the Sketch Toolbox App, download and install. Download the 'Content Generator Sketch Plugin'. Check to see if it worked by going to Plugins and Content Generator should be there.
Select the gray boxes on your cards, select the plugin, select Photos and Nature and Urban. There should now be pretty pictures!!
- Resource Collections
- Sketch App Sources
- Great Collection from ustwo
- Sketchresources.com